


Barnstorm dash kit, build your own T bar setup. PLEASE READ DESCRIPTION BEFORE SELECTING YOUR PARTS
Sku: BRN-INDIAN-T-BAR-BRN-INDIAN-T-BAR-GBLK
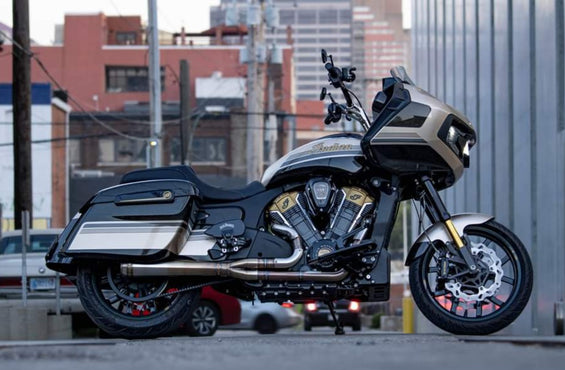
Barnstorm Cycles Indian Challenger dash kit.
PRE ORDER STARTING 4/4/24 ETA Mid Summer - THANK YOU!
PLEASE READ ALL of this slowly and carefully ALLLLL the way to the bottom, and THEN select your options.
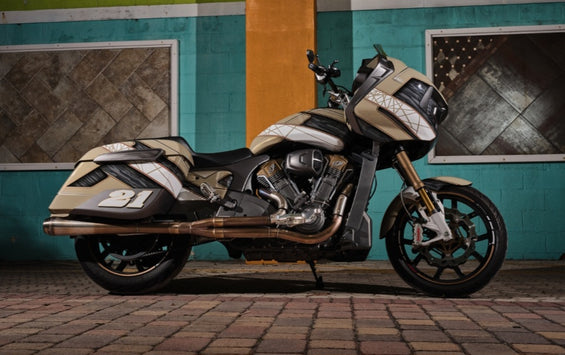
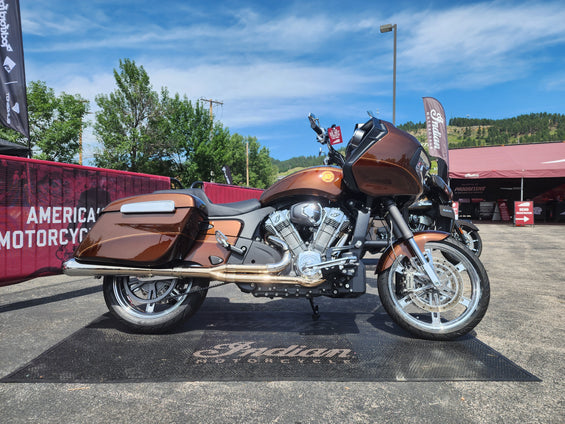
WELCOME to the Forever Rad build your own T bar setup page for Indian Challengers!!!
Here at Forever Rad, we are your one stop shop for putting T bars on your Indian Challenger.
We love having options, so we've tested, used and abused almost all of the options out there, we're very proud to say that Forever Rad has the most experience in the WORLD in putting different T bar setups on Indian Challengers at this point and we're excited to help you along the way.
We have been using and installing the Barnstorm dash kit since 2020 and we are able to provide you with any of the parts you see listed here as well as many others that you may not see listed. Please feel free to reach out to us on that.
We are always happy to help with any questions concerning installation, fitment, sizes and fine tuning a handlebar setup to your liking, please do not hesitate to reach out to us via email or phone for any assistance needed.
NOTE- Additional shipping charges may apply once items are ready to ship. If so, a separate invoice will be sent at the time for the additional charge.
This process has a few steps involved and we do apologize for the lengthy read, but we have tried to make it as easy as possible for everyone and hope that you do appreciate our efforts. You can build and customize your own T-Bar setup using the Barnstorm dash kit and our extensive proven list of parts options. For a more simple install and cost effective way to put T bars on your Challenger, u may want to consider the Barnstorm lane splitter 1 piece welded T bars we offer.
The options are endless and we have tested and confirmed all fitment on this page so you don't need to worry if its going to work, you just need to decide what suits your style.
Please remember that we take a lot of pride in what we do here at Forever Rad and hope that u consider supporting American small businesses like ours, this also means to please consider ordering your parts through us instead of just using this as a cheat sheet. Also please remember to tell your friends about us and our continued efforts!
The finer details :
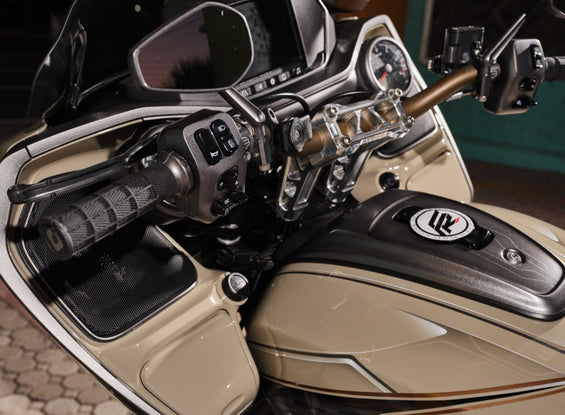
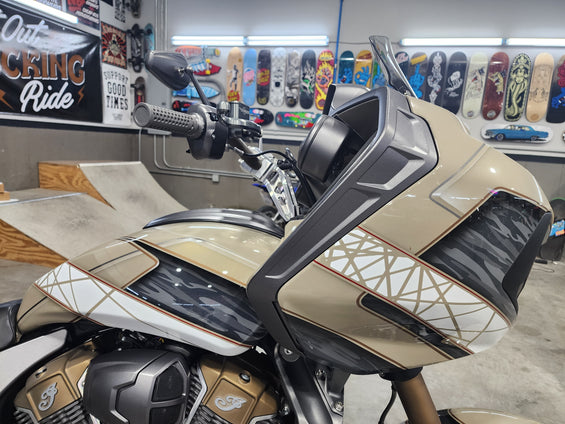
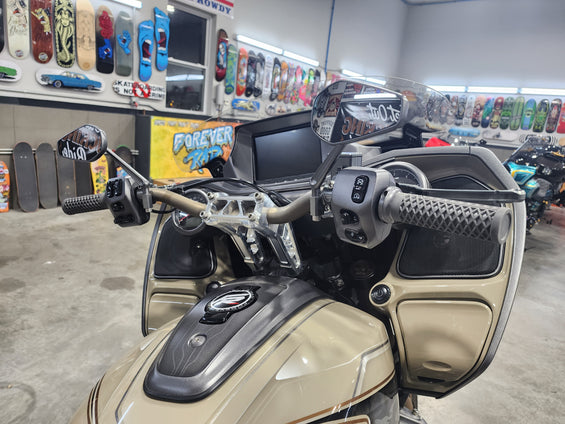
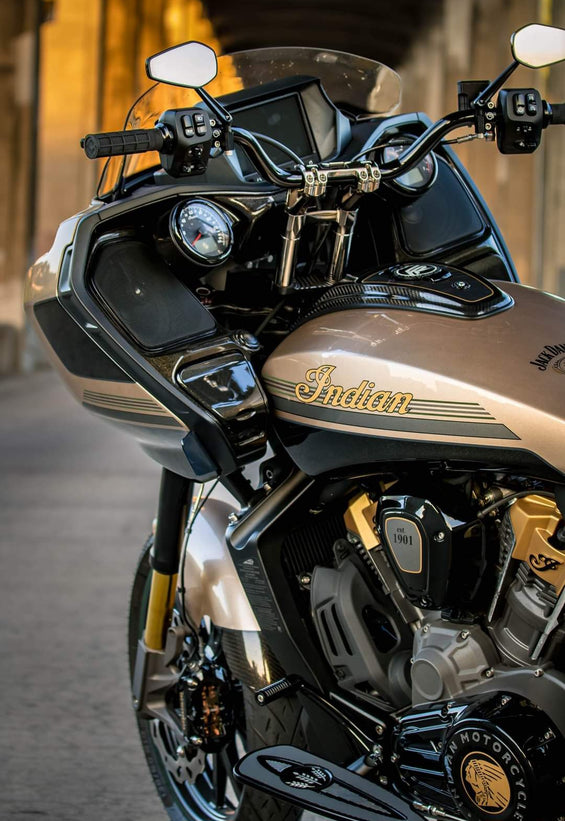
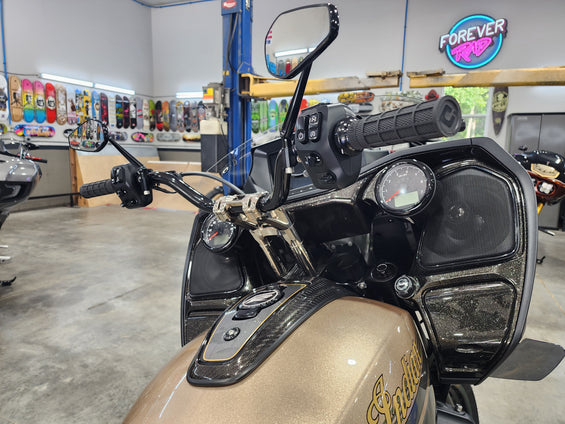
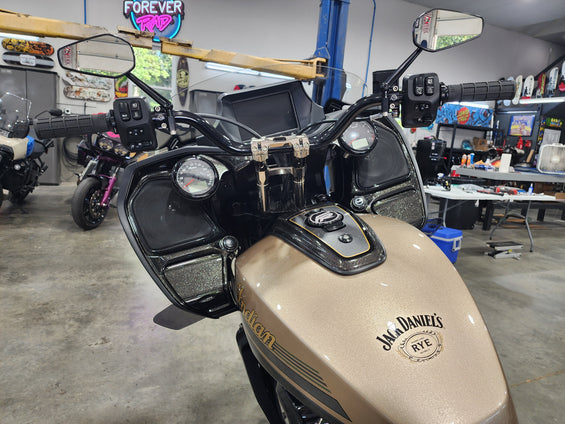
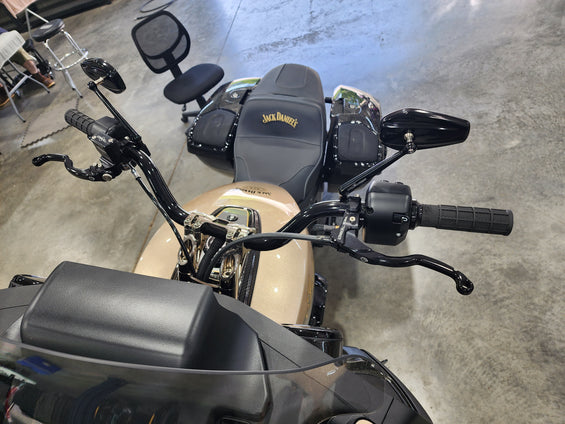
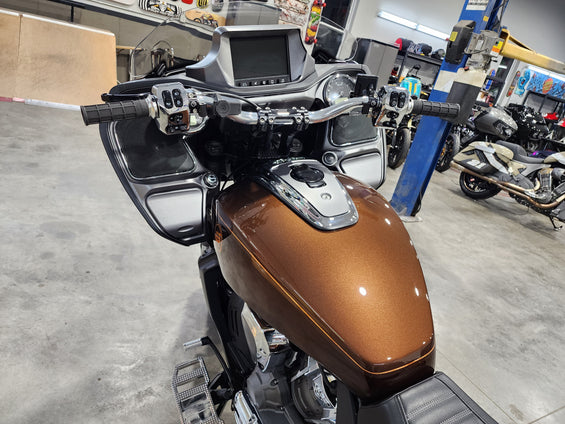
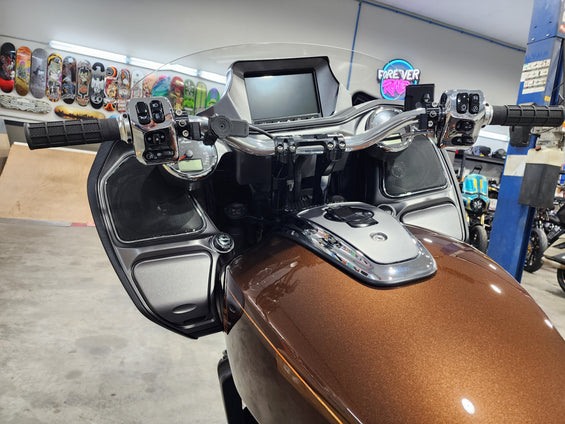
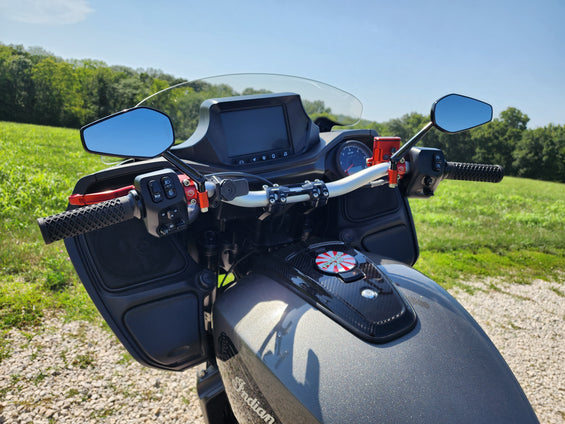
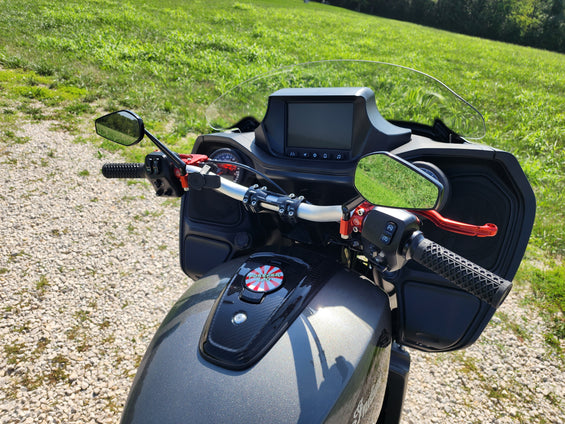
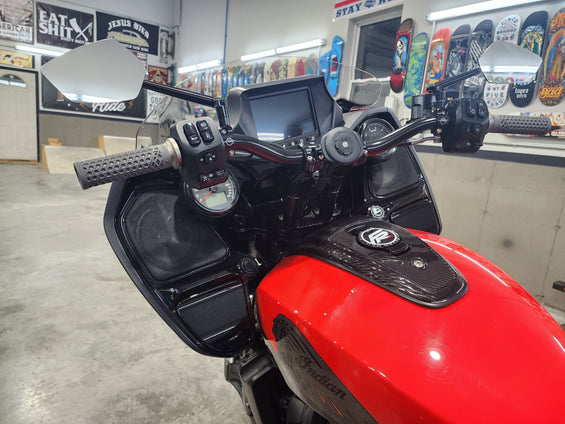
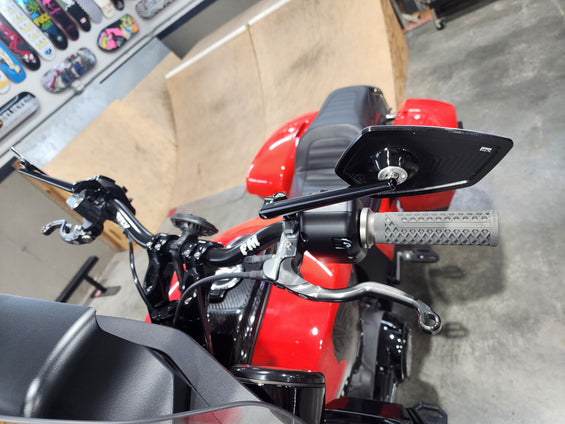
The Barnstorm Dash Kit is engineered and built with the performance rider in mind! It relocates the factory ride command touch screen, as well as the speedometer and tachometer gauges.
The RECENTLY UPDATED lower dash pod now features pockets in it for clearance to run any riser you would like to run. Previous versions had limited clearance for thicker or square style risers.
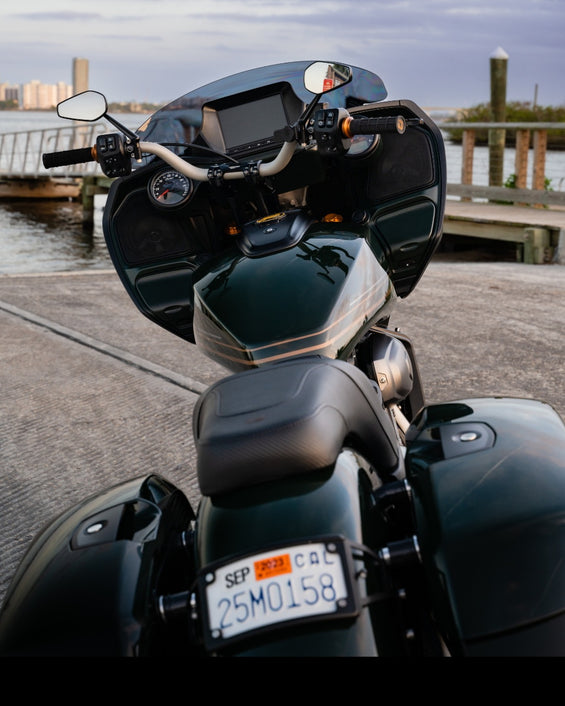
This configuration allows for the use of "T-bar" style handlebars on Indian Challengers. The relocated instrumentation not only improves the rider experience, but it also completely redefines the overall look and feel of the motorcycle.
With 200+ kits out there now, it is confirmed that the Barnstorm Dash kit is a DIY friendly modification, that is 90% bolt on. However, it does require a few basic skills and basic tools. You'll need to be able to follow specific installation steps, as well as disassemble and reassemble critical components. Installation also requires cutting and extending 11 separate wires. Allow 4-7 hours of installation time for the average DIY'er. If you don't feel confident that you will be able to correctly install this kit, please contact us and we can offer advice or bring us your bike and we can assist with installation.(must pay labor)
The Barnstorm dash kit itself includes:
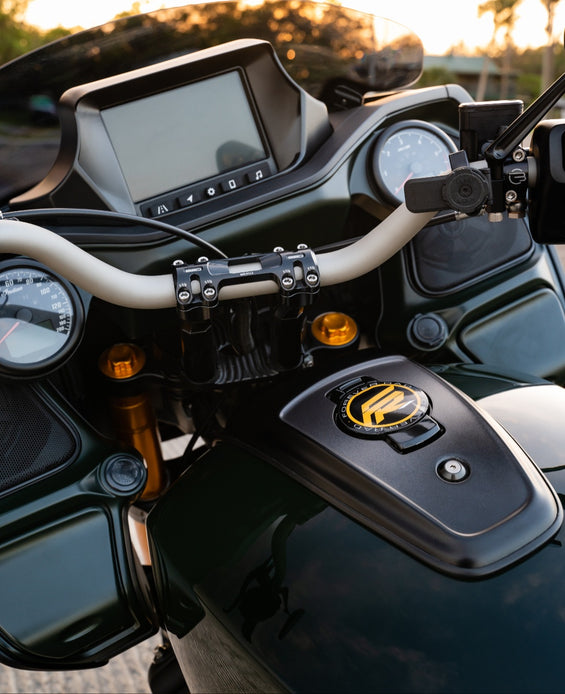
-Upper Dash Shroud which houses the ride command touchscreen. Available in raw white or flat black.
-Lower Dash Gauge Pod which relocates the Speedometer and Tachometer. Available in raw white, flat black or gloss black.
Ride Command relocation mounting bracket. This part is not visible when installed but comes flat black.
CNC machined 6061-T6 Aluminum Handlebar relocation bracket in anodized black.
Color matched wire and shrink tubing necessary for extending the speedometer and tachometer harnesses.
Zip ties, split loom, p-clamps, and required hardware for securing your extended harnesses and slightly rerouted front brake line, clutch cable, and handlebar wiring.
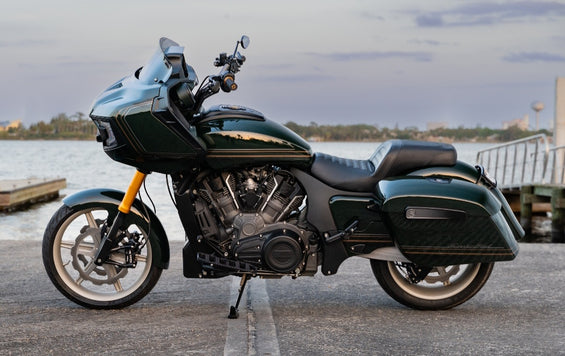
Overall bar height info for Indian Challenger T-Bars
Overall bar and riser height is completely up to you and how you wish to be positioned. This combined with the barnstorm pullback plate (required and included) will give you the overall height of your controls. PLEASE TAKE NOTE THAT THE PULLBACK PLATE ADDS 3.5" TO YOUR OVERALL HEIGHT. We recommend taking a look at the options and doing some measuring. We offer a few different riser height options and a few different bar height options so you can get exactly what you're looking for.
MOST ape hanger style bars (klockwerks,kst,torch,spadafora,etc.) are going to put you around 14" tall. So as an example to be around this height you will want to run a 4.5" bar with a 6" riser and the 3.5" pullback plate giving u a total height of 14". You can play around with different bar and riser heights to suit your visual needs. Also keep in mind that moto bars can be rolled forward and backwards to also assist in fine tuning your setup.
Rad riser options we prefer:
(always growing and also not limited to:)
-
Boosted Brad
-
Mymachinist
-
Kraus
-
Roland Sands
-
Barnstorm
All of these are pull back risers due to the seating position of a Challenger, we have confirmed that anyone from 4 foot to 7 foot tall is going to want pullback risers at this point, if u still insist that u want straight risers, we will gladly sell those to you as well, please contact us for options. We have listed the riser height options that will work perfect for you. All risers listed here are the best of the best when it comes to quality made risers and all you need to decide is what look and height fits you best. Please note that 99% of risers are a harley universal 3.5" spread and most any risers can be used with a Barnstorm kit.
Rad handlebar options we offer:
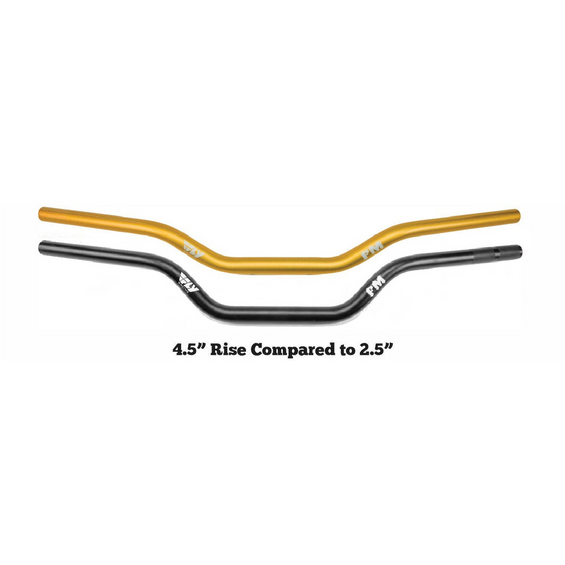
-FM or ODI moto bars in high and low heights
-Barnstorm 1 piece welded T bar (overall height of 15" including pullback plate which is required)
-Barnstorm MX bar (2" tall and a very low bend)
IMPORTANT BAR NOTES YOU NEED TO READ
-For odi and FM you will want to choose a low bend bar at 2.5" tall , or a high bend bar ranging in the area of 4.5-5" Tall. We prefer ODI and FM bars. The ODI bars are basically a bolt on with little to no modifications needed. The FM bars are also a bolt on, but will require using a tool to open up a few holes for the switch pack wiring holes and also need a hole drilled in the center of the bar for wiring to exit the bar. This may seem annoying, but its very simple and just requires some patience and a dremel tool or a die grinder. unfortunately nobody but Barnstorm and ODI make a Indian specific bar, so this is what we must contend with for now.
-For both Barnstorm bar styles, they will come setup for OEM hand control fitment ONLY, which is a 1.25" clamping diameter, please read our hand control section before selecting your bars.
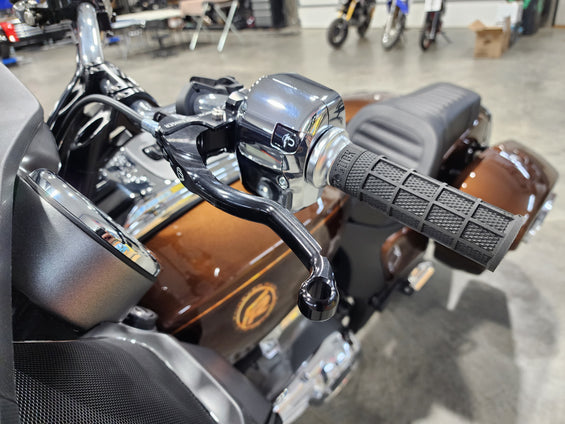
Hand Controls For The Indian Challenger
When doing bars on your Indian Challenger you have the option to reuse oem hand controls, or run something aftermarket like Beringer or Brembo hand controls, we prefer Beringer on our Challenger builds at Forever Rad.
If you decide to use the oem hand controls on your new moto bars you MUST ORDER the Barnstorm hand control adaptor kit that allows them to fit on a 1" bar, due to the oem 1.25" clamping diameter. These essentially are just shims that are hidden when installed and work extremely well, they are removable down the road if u decide to not run oem hand controls.
The Beringer controls are a massive step up in performance and visuals and is a complete kit we offer that comes with everything you will need to install.
Our Beringer kit includes the following:
-
Radial front brake master cylinder, 1" clamp with your choice of lever length
-
Clutch perch, 1" clamp with your choice of lever length.
-
Mirror Clamps for pass through style mirrors commonly found on HD models. (We prefer Arlen Ness mirrors)
-
CS3 Clutch Safety Switch, this will need to be wired to your oem clutch switch wiring with spade connectors included.
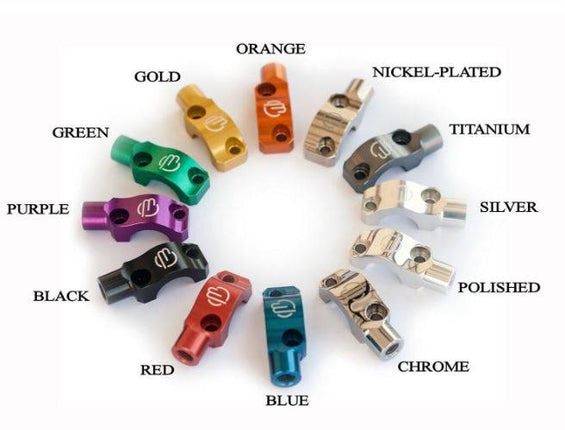
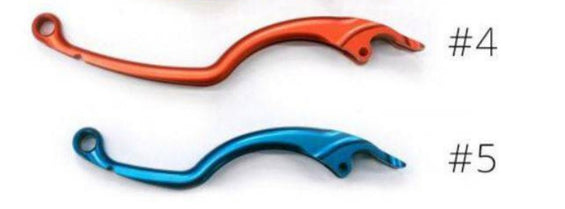
Beringer levers come in 2 different lengths and multiple colors
#4 lever is a full hand (4 finger) lever favored by touring bike owners but also some road racers.
#5 lever is a 2-finger lever favored by 90% of our riders. Perfect for 1 or 2-finger actuation.
SBC Solid Riser Bushings for T-Bars
These are a great upgrade over the oem rubber riser bushings and will help you not only feel more planted but get longer life out of the bushings for less maintenance. We recommend these on every T-bar setup that goes on a Challenger due to the pullback plate distance. Again, not needed, but we absolutely recommend them.
FINAL KEY NOTES: (you're almost done reading)
- Every Dash Kit comes with all the parts you will need for the installation of the components you have ordered. It also comes with 24" of each color wire needed to extend your Tachometer and Speedometer harness so that they can reach their new mounting location. Some of the hardware you take off of your stock dash will be reused. We also include the zip ties, split loom, p-clamps, and hardware needed for securing your extended harnesses, front brake line, clutch cable, and handlebar wiring.
-If you choose to use the 1-piece T-Bar, or MX bar with a riser that is NOT taller than 10", you should not need to extend your handlebar wiring, your clutch cable or front brake line. The front brake line retention points will have the be reworked a bit, however. Also, while you can use butt style crimp connectors to extend your gauge wiring, we HIGHLY recommend that you solder the wires for the best results.
- You DO NOT need to cut the handlebar wiring to remove it from the factory bars. The wiring simply needs to be unplugged from the left and right handlebar switch packs, as well as the throttle twist grip. Then it can be pulled down and out of the bars. Install into your new bars in the reverse fashion.
- The Ride Command and gauge relocation dash panels are 3D printed in a material that is very similar to ABS plastic in terms of strength, toughness, and durability. When being painted, they should not be baked at a temperature above 125 degrees Fahrenheit.
-In the unlikely event we do not receive enough orders to fulfill our manufacturing minimums, all Pre-Orders will be FULLY refunded.
-Barnstorm and Forever Rad are not responsible for any damage, injury or other unforeseen outcomes as a result of improper or inexperienced installation procedures, negligence or failure to follow recommendations.